Photo Mosaic Maker
Add a main picture and a pile of tile photos, and get one big picture made of your small ones, ready to download.
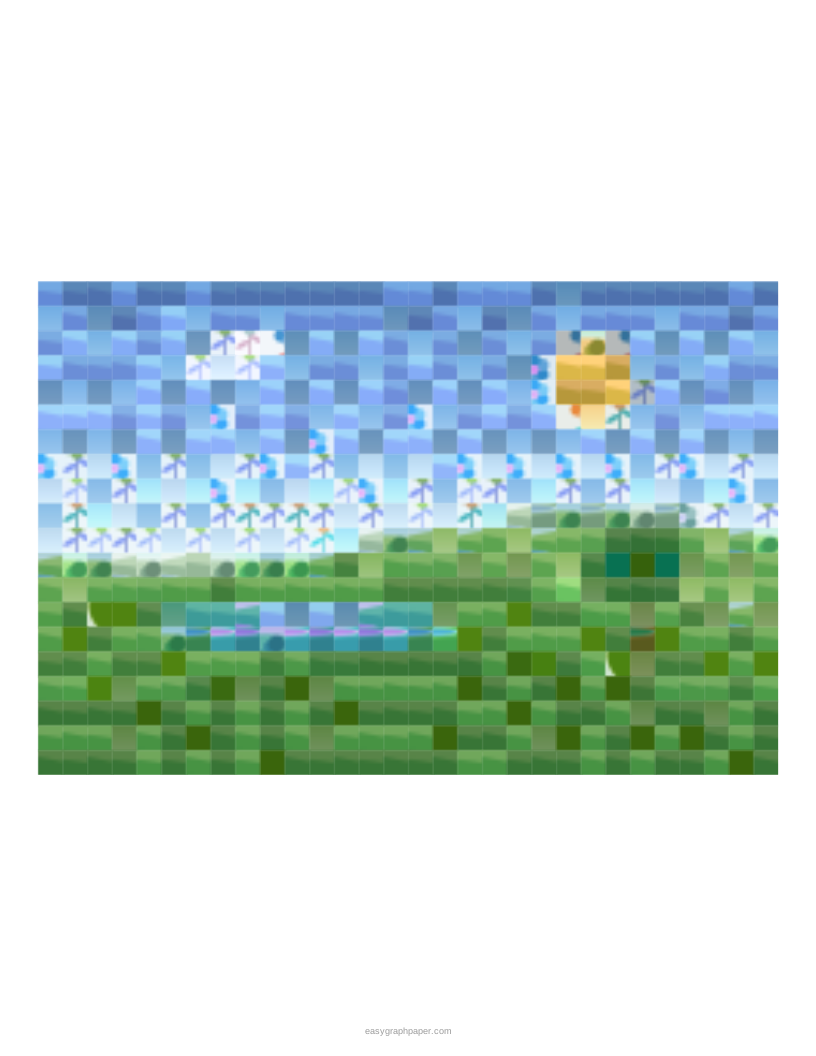
The photo mosaic maker turns one picture into a mosaic made of many small photos. It divides your main picture into a grid and fills each cell with the tile photo whose colours match that cell best, so the big picture appears from a distance and the small photos show up close.
You can start with the built-in tile set or add your own photos, up to 1,000 at a time. The tool is free, needs no account, and runs in your web browser on a computer, phone or tablet. Your pictures are processed on your device and never uploaded.
It works as an image mosaic creator and a mosaic picture creator in one: pick a picture you have the rights to use, adjust the grid, and download the result as a JPEG or PNG.
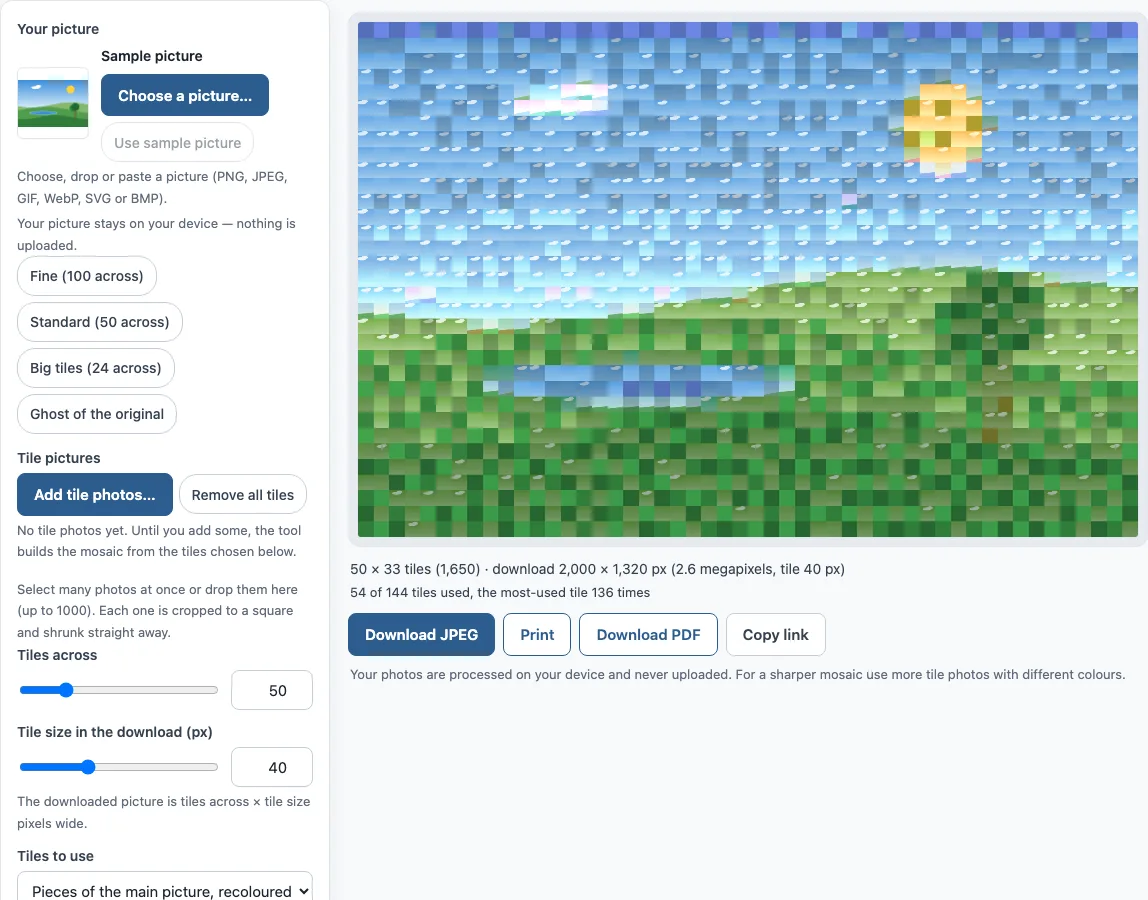
How to use the photo mosaic maker
- Add your main picture under Your picture. Choose a file, drag and drop it, or paste it.
- Add your tile photos. Use the multiple-file button or drop a folder’s worth of files at once. You can add up to 1,000.
- Check the thumbnails below. Click a thumbnail to remove that photo, or use Remove all tiles to start again.
- Under Tiles to use, My tile photos is chosen automatically once you add photos. Before that the tool uses Pieces of the main picture, recoloured, and Plain colour tiles is a third choice.
- Set Tiles across between 10 and 200. The default is 50, and the rows follow the shape of your picture.
- Set Tile size in the download (px) between 10 and 100. The default is 40.
- Choose 2 × 2 matching for speed (the default), or 3 × 3 (Match detail) for more detail.
- Turn on Never put the same tile next to itself to stop a photo repeating in any neighbouring cell. Set Use each tile at most if you want the photos spread out.
- Optionally adjust Tint tiles toward the picture (%) and Mix in the original (%).
- Download your mosaic as a JPEG (quality 60–100, default 90) or PNG at full size. Or use Print or Download PDF to put the mosaic on one page.
The presets Fine (100 across), Standard, Big tiles (24 across) and Ghost of the original each set several controls. The output is capped at 8,000 px per side and 40 megapixels. On the 720 × 480 sample, the default settings give 50 × 33 = 1,650 tiles and a 2,000 × 1,320 px download.
How do I make a photo mosaic?
You divide the main picture into a grid, then fill each cell with one tile photo. The tile is chosen because its colours match that cell best, which is why the big picture shows from a distance and the small photos show up close.
To compare colours, the tool averages the colours in each cell and in each tile, then measures the difference in the CIELAB colour space. CIELAB is designed to follow how people see colour differences, so a tile can match the light and dark parts inside a cell, not just the overall tone. Each cell and tile is compared as a 2 × 2 grid of average colours (fast, the default) or a 3 × 3 grid (Match detail).
The reuse rules then decide where each photo goes. With Never put the same tile next to itself on, a photo is kept out of all eight neighbouring cells. Use each tile at most caps how often one photo can appear, which spreads the photos across the mosaic. Tint tiles toward the picture shifts each tile’s colours toward its cell so the main image stands out more. Mix in the original lays the source picture faintly over the result.
How many photos do I need for a photo mosaic?
A few dozen varied photos can work for a mosaic 50 tiles across when the never-next-to-itself rule is on. For fine mosaics, a few hundred photos usually look best.
The count matters because every cell needs a tile. A 50-across grid on a 3:2 picture has 1,650 cells. If you set a strict limit on reuse, you need enough different photos to fill them. Adding more photos, or raising the limit, gives the tool more choice. If there are too few tiles for your limit, the tool relaxes the limit and says so on the page.
Photos with different colours and brightness help most. Ten near-identical shots of the same wall add little. When you add no photos, the tool uses its default set of 144 tiles, made from recoloured pieces of your main picture. That lets you test settings before you add your own photos.
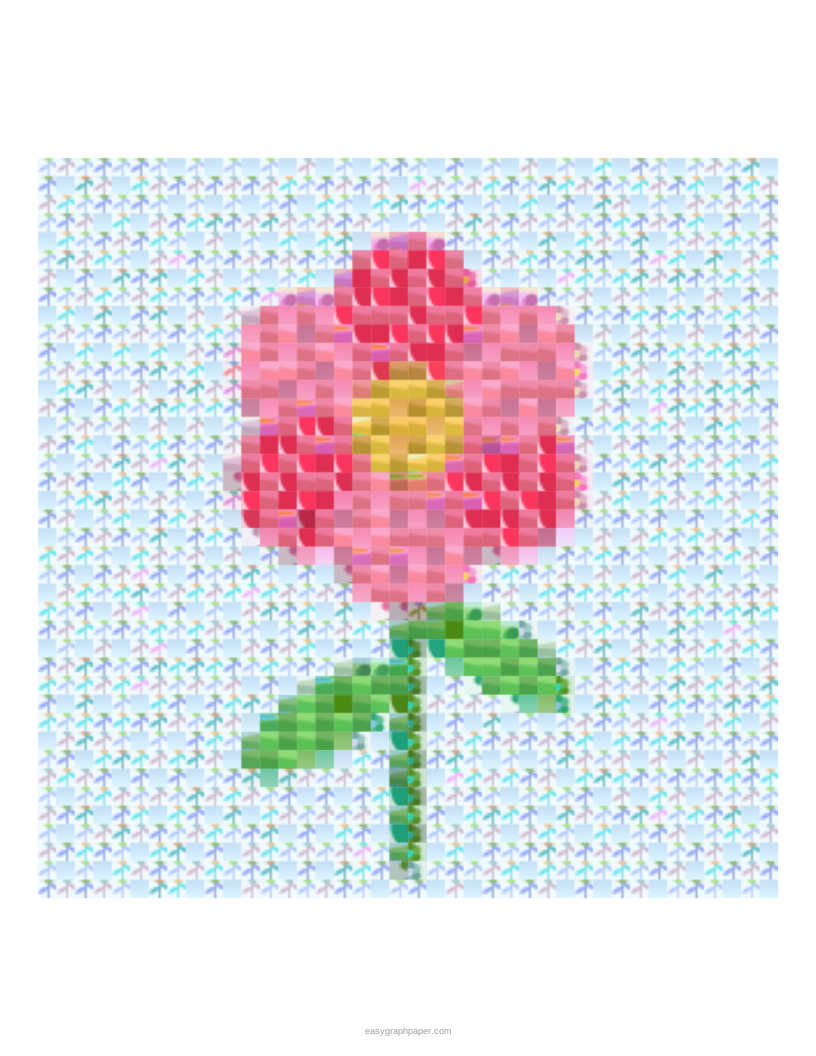
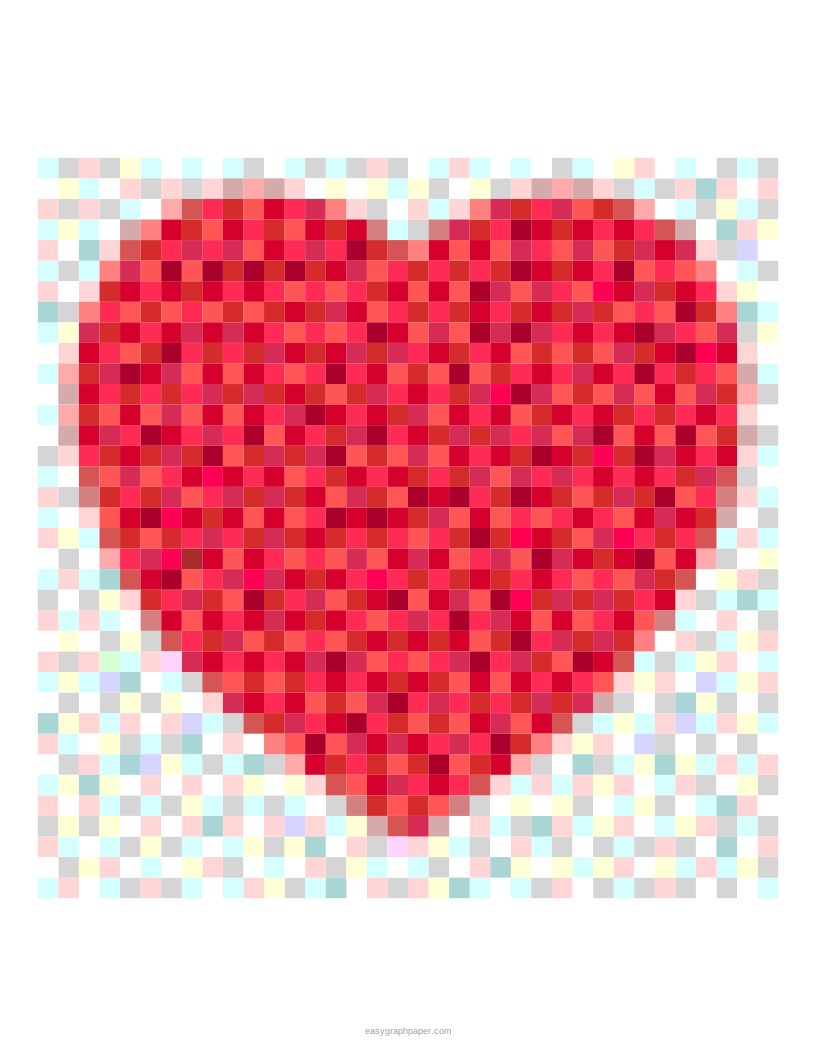
Examples made with this generator
Frequently asked questions
What tile size should I choose?
Tile size in the download sets how many pixels wide each tile is, from 10 to 100 (default 40). Larger tiles make each photo easier to see in the finished image. Smaller tiles give a smaller file at the same grid size. For most mosaics, change Tiles across first, since the number of tiles affects the detail more than tile size does.
Can I print a photo mosaic as a poster?
Yes. Download the mosaic as a full-size image, then print it with the Block poster maker over several sheets. Check the final resolution shown on the page first, so the image is large enough for the poster size you want.
Are my photos uploaded?
No. The tool runs in your web browser and processes your pictures on your device. Each tile is cropped to a centred square and shrunk as you add it, all on your device, and neither your main picture nor your tile photos are uploaded.
Can I sell a photo mosaic I make?
Yes. The mosaic is yours to use for personal, school and business purposes, including prints or gifts you sell, for example on Etsy. Make sure you have the rights to the main picture and to every tile photo you use.
Is the photo mosaic maker free, and does it work on a phone?
Yes, it is free, needs no account, and works on phones and tablets as well as computers. Matching a 200 × 200 grid against 1,000 tiles takes about a second in the browser, so larger jobs stay quick.
Related tools
- Pixelate image: use it to turn a picture, or part of it, into blocks of colour or to blur faces before you share it.
- Pixel art maker: use it to draw pixel art and sprites pixel by pixel.
- Block poster maker: use it to split a large image across several sheets for printing.
- Paint by numbers generator: use it to make a numbered colouring guide from a picture.
- Cross stitch pattern maker: use it to turn a picture into a stitchable chart.
- Perler bead pattern maker: use it to plan a design made from fuse beads.
- Pixel art grid: use it to print grid paper for planning a mosaic or pixel picture by hand.