Cross Stitch Graph Paper Generator
A charting grid with a bold line every 10 stitches and numbered edges, at a readable size or the real fabric count.
How to use the cross stitch graph paper generator
- Choose a paper size: US Letter, A4, US Legal, Tabloid, A3 or A5, in portrait or landscape.
- Set the squares per inch. The default is 10 per inch; 8 per inch gives larger squares that are easier to read, and the 11, 14, 16 and 18 per inch options match Aida counts at their real size. “Custom size” takes a square size in millimetres or inches.
- Choose the heavy lines: every 10 squares by default, or every 2, 4, 5 or 8 squares.
- Set the numbers along the top and left edges: every 10 lines by default, or every line, every 5 lines or none.
- Pick a line colour (light blue, grey, black, green, red, purple or a custom colour) and a line weight (fine, normal or bold).
- Under Page and print settings, set the margin, add an optional title, and add a Name and Date line if you want one. Choose 1 to 50 pages.
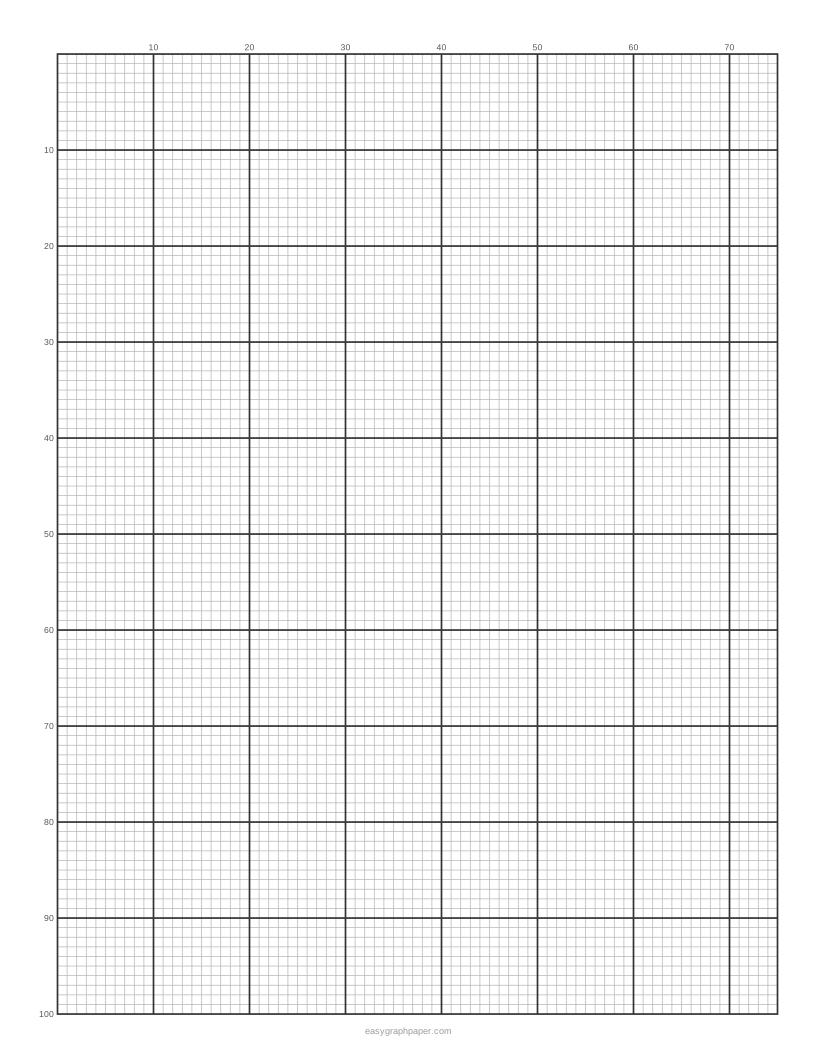
- Check the line under the preview. It shows the square count, such as 75 × 100 squares at 10 per inch on US Letter.
- Press Print, Download PDF or SVG, or Copy link.
Print settings control how the sheet lands on paper. The page is set to the exact paper size you chose, and the browser remembers that paper size next time. Copy link stores all of your current settings, so you or someone else can recreate the same sheet later.
How to cross stitch from a paper pattern
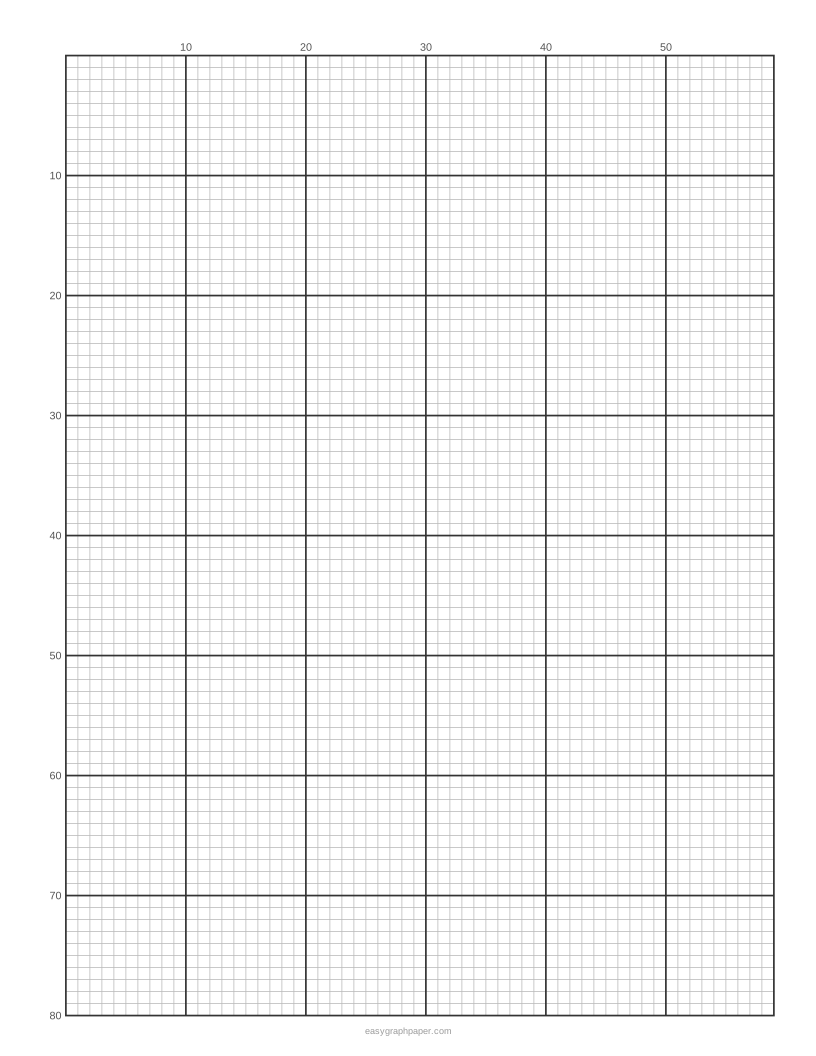
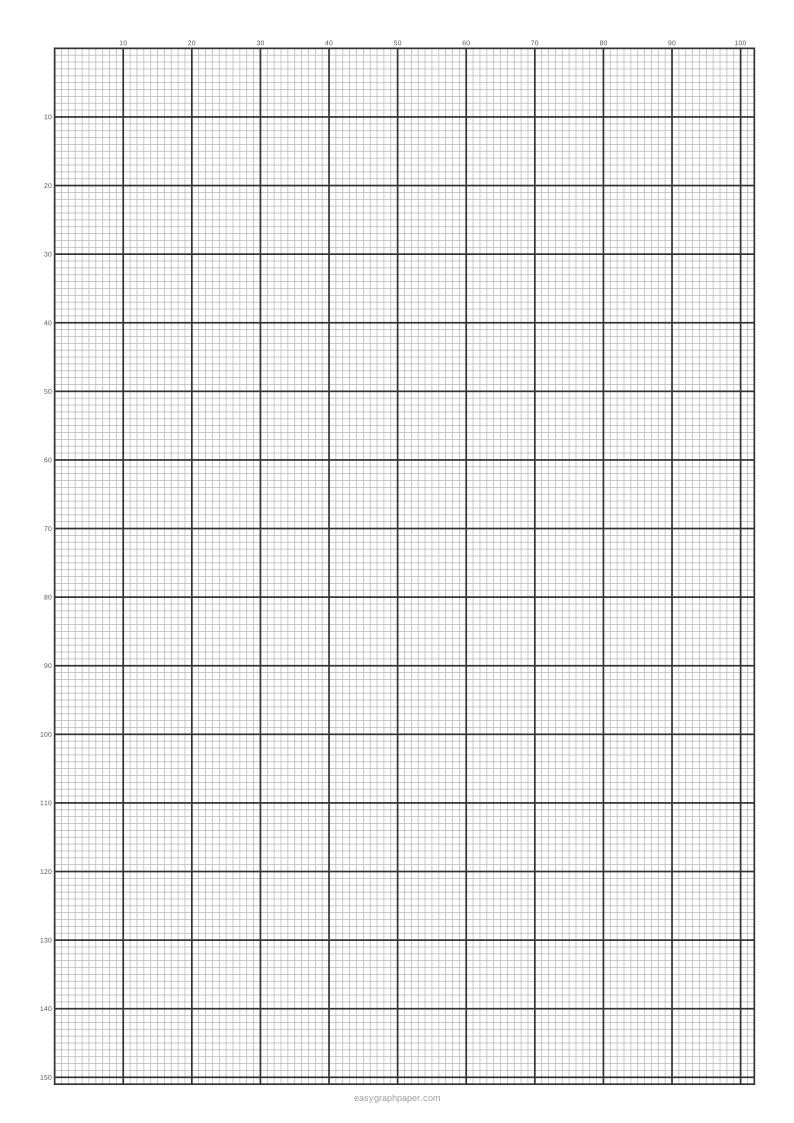
Each square on the paper matches one stitch on the fabric, so you work through the pattern one square at a time. Use the numbers and heavy lines to keep your place, because the heavy line every 10 squares marks a 10 × 10 block, the same kind of block used in printed cross stitch charts.
Counting in tens makes it much easier to find your position. Find the centre of your pattern first, using the fold lines you marked on the grid, and start stitching from the middle. This keeps the design centred on the fabric and leaves you room for any errors at the edges. Keep your place by moving from one block to the next rather than counting every square from the corner.
How to design a cross stitch pattern on graph paper
Start by deciding the finished size and the fabric count, then work out how many stitches go across and down. The count is the number of stitches per inch, so 14-count Aida has 14 stitches per inch. A design 140 stitches wide is 10 inches wide on 14-count fabric and about 7.8 inches on 18-count.
- Decide the finished size you want and the count of your fabric.
- Multiply the width and height in inches by the count to get the stitches across and down.
- Check that the grid has at least that many squares across and down; the line under the preview gives the count.
- Outline the design in pencil, then fill the squares with colours or symbols.
- Write a colour key that lists each colour or symbol and the thread it uses.
- Mark the centre with fold lines so you can start stitching from the middle.
Examples made with this generator
Frequently asked questions
What size grid do I need for 14-count Aida?
For a chart at the real fabric size, choose “14 per inch”. On US Letter that grid has 105 × 141 squares, about 7.5 × 10 inches of 14-count fabric. For easier reading, chart at 10 per inch instead; the stitch count stays the same.
Can I print it at the real fabric size?
Yes. Print the sheet at 100 % or Actual size, and turn off Fit to page or Shrink to fit in the print dialog. If the browser scales the page, every square becomes slightly smaller than the fabric count you planned for.
Does this work for knitting or bead patterns?
Yes. The same grid works for knitting colourwork charts with square stitches, for needlepoint, and for bead patterns. Any project where each square represents one unit can use it.
Is the generator free to use?
Yes. It is free, and it needs no sign-up or download. It runs in your web browser, and your settings are not uploaded.
How many pages can I print from one sheet?
You can choose 1 to 50 pages in the PDF. Every page is identical, so you can print the same grid several times, for example for drafts or multiple colour trials.
What does the line under the preview tell me?
It reports how many whole squares fit on the page, such as 75 × 100 squares. The grid is always made of whole squares centred inside the margins, so every square is exactly the size you chose.
Related paper templates
- Pixel art grid: Use this when you want a grid for pixel art or any design where each square is one colour.
- Grid paper: Use this for general grid paper for drawing, planning or maths work.
- 10x10 grid: Use this when you need small grids of 10 × 10 squares.
- Graph paper generator: Use this to make graph paper with a custom square size for any purpose.
- Hex grid paper: Use this for hexagon-based designs, such as maps or hex-tile patterns.
- 1 inch graph paper: Use this when you need squares that are exactly one inch wide.